Cast Porcelain Keyboard
In this project I designed and manufactured a 2-part mold for a mass-producible, slip cast porcelain mechanical keyboard enclosure.
The Cast Porcelain Keyboard merged my passion for product design with my knowledge of molds from internships at Tesla. Each design decision balanced aesthetics and manufacturability, from parting lines and draft angles to shrinkage in the kiln.
Relevant Experience: Fusion 360, Mold Design, Casting, Soldering, Color Design.
Concept:
Porcelain is a unique material, utilitarian and delicate. We interact with rugged porcelain objects everyday via sinks and toilets, but we also admire porcelain from afar as with fine china on a shelf. This keyboard reflects the material's duality, an everyday object to type emails and reports, but also to cherish. It is the first of its kind - no other ceramic keyboard exists on today's market.
My design concept for the keyboard was strongly influenced by my philosophy of truth to materials. The underside of the enclosure is left unglazed, a choice which may be undesirable to some; but will be recognized in an instant by a ceramicist (as a piece that is glazed on the underside will stick to the kiln as it heats). In this way, the unglazed underside refers to the traditional ceramic process.
Process:
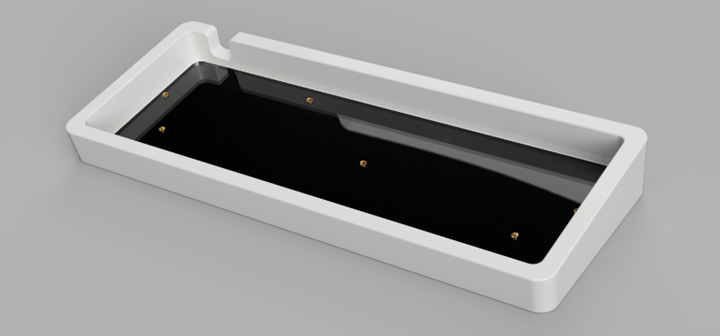
CAD Render
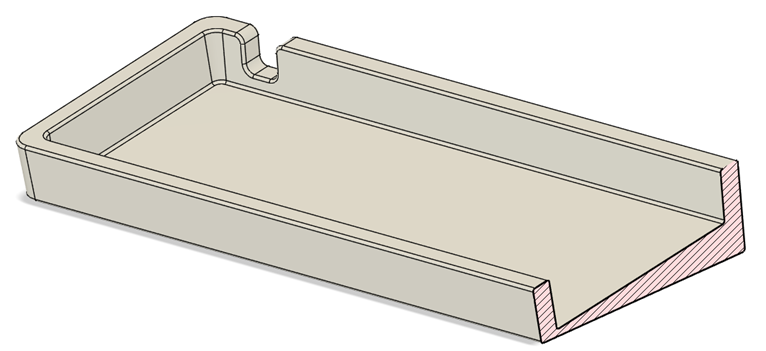
CAD Section View
From the 3D CAD model of the enclosure, I 3D printed a dummy enclosure (below) which would become the positive for making the plaster mold. This dummy was printed at 115% scale to account for the shrinkage of the porcelain during firing. The printed part was sanded with 80 and 220 grit sandpaper to achieve a smooth finish for the mold.

3D Printed Positive

3D Printed Positive
The 2-part plaster mold was made in the traditional cast plaster process.

Plaster Mold - 3D Printed Positive

Plaster Mold - Making the Cavity
With the molds completed and dried, 1 quart of porcelain slip was poured into the mold, yielding a hollow keyboard shell with ~1/4"-3/8" thick walls. Several tests indicated a 5° draft angle minimum was required to safely remove the keyboard from the mold. It was then sent off for the first firing (results below).

Porcelain Cast Enclosure After 1st Firing
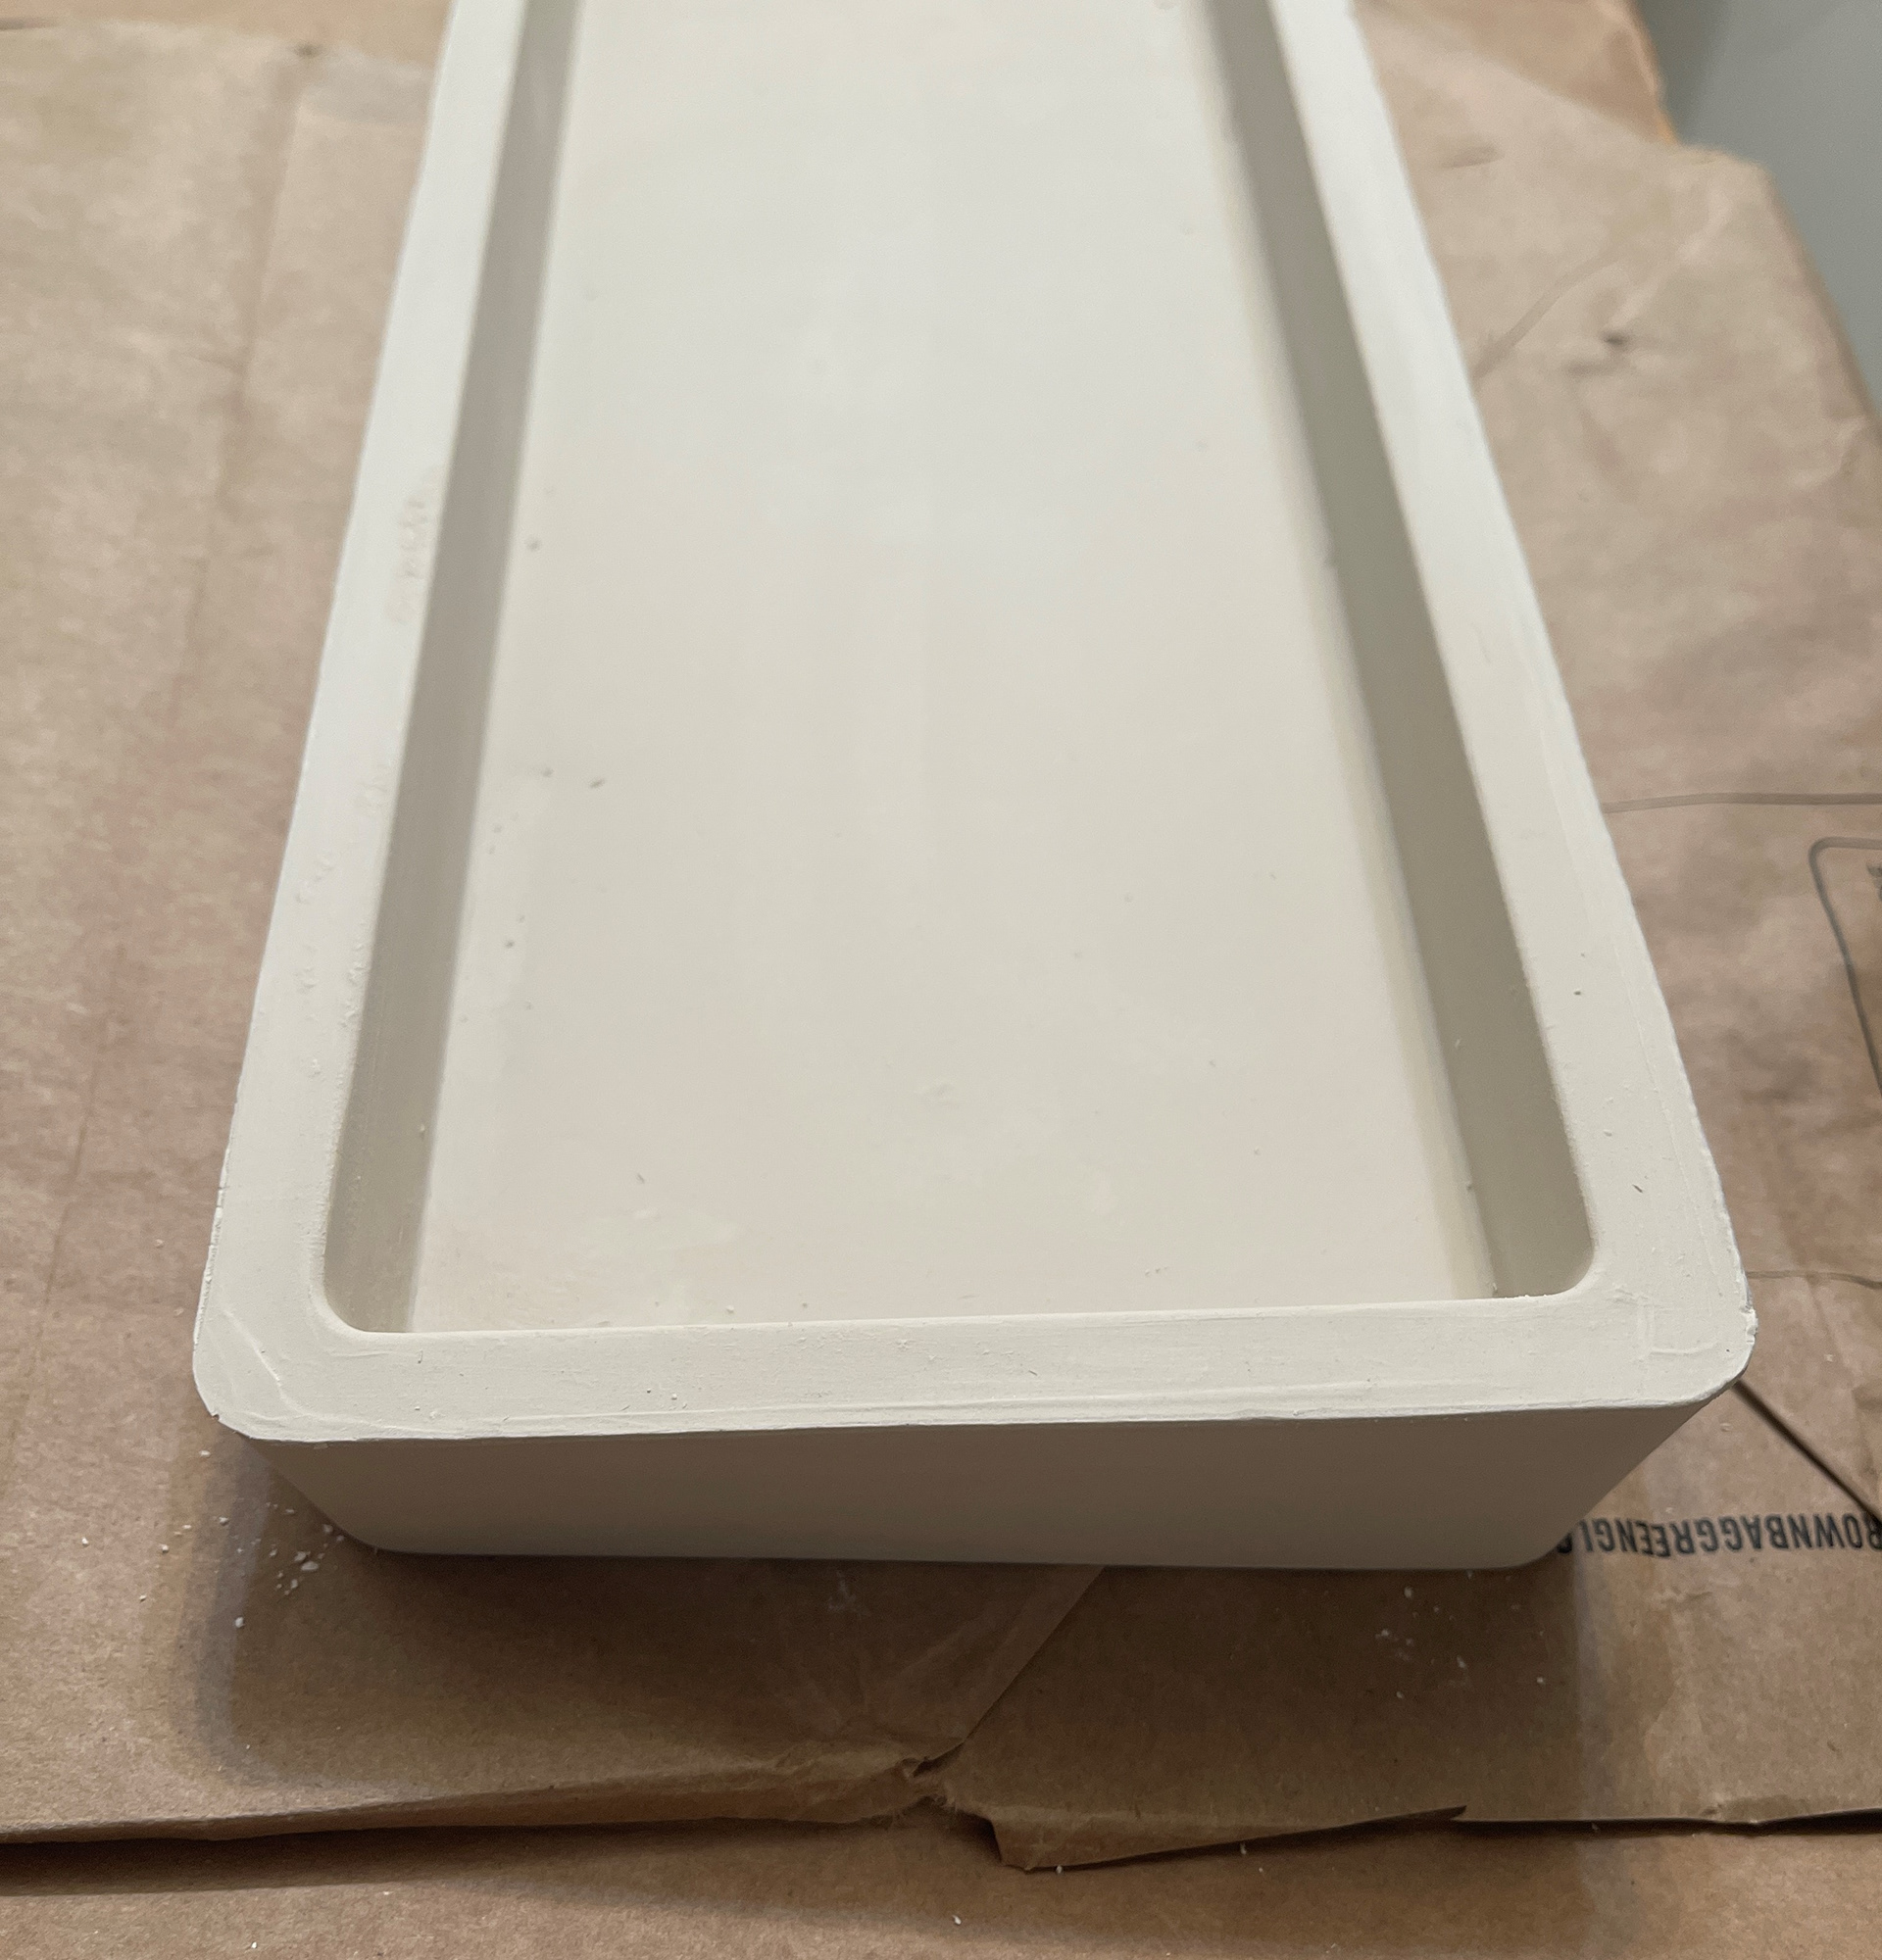
Porcelain Cast Enclosure Detail After 1st Firing
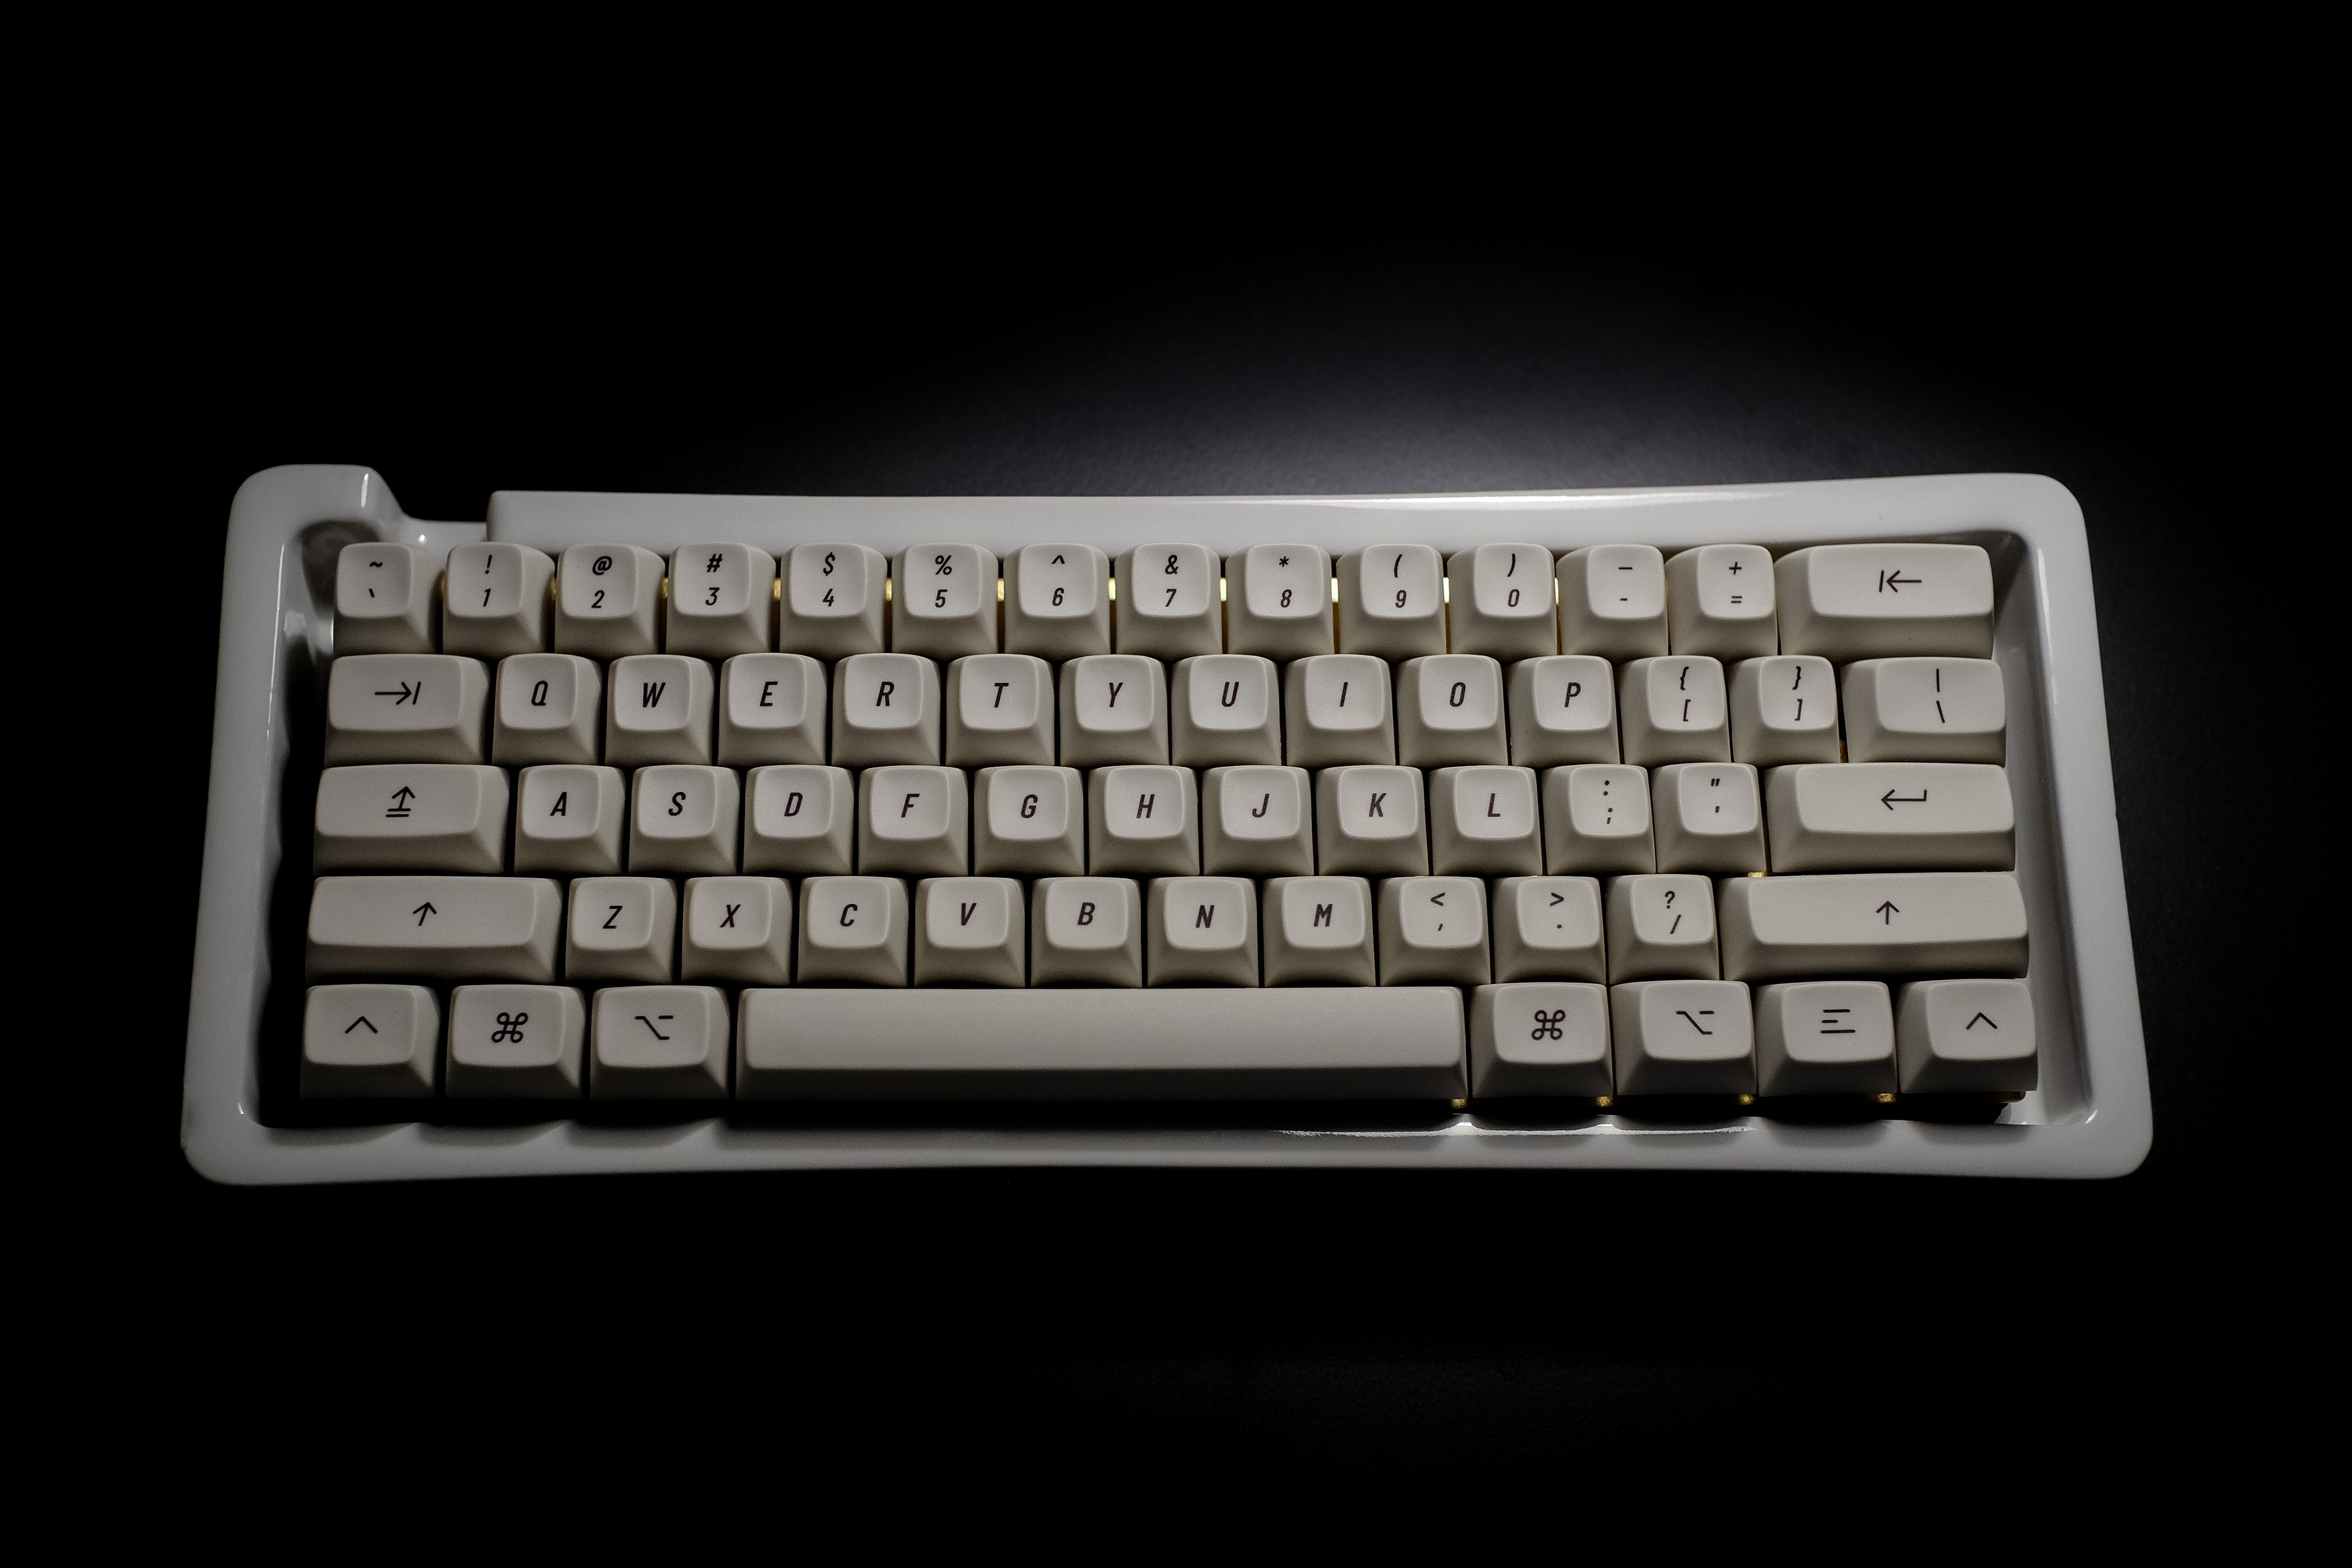
Following the first firing, the keyboard was glazed gloss white, and then sent off for the second firing at higher temperatures. The glaze process required much experimentation: Some brands rendered the white color differently (cooler/warmer), while some obscured imperfections and others did not. Finally, the desired gloss white finished was achieved (below).

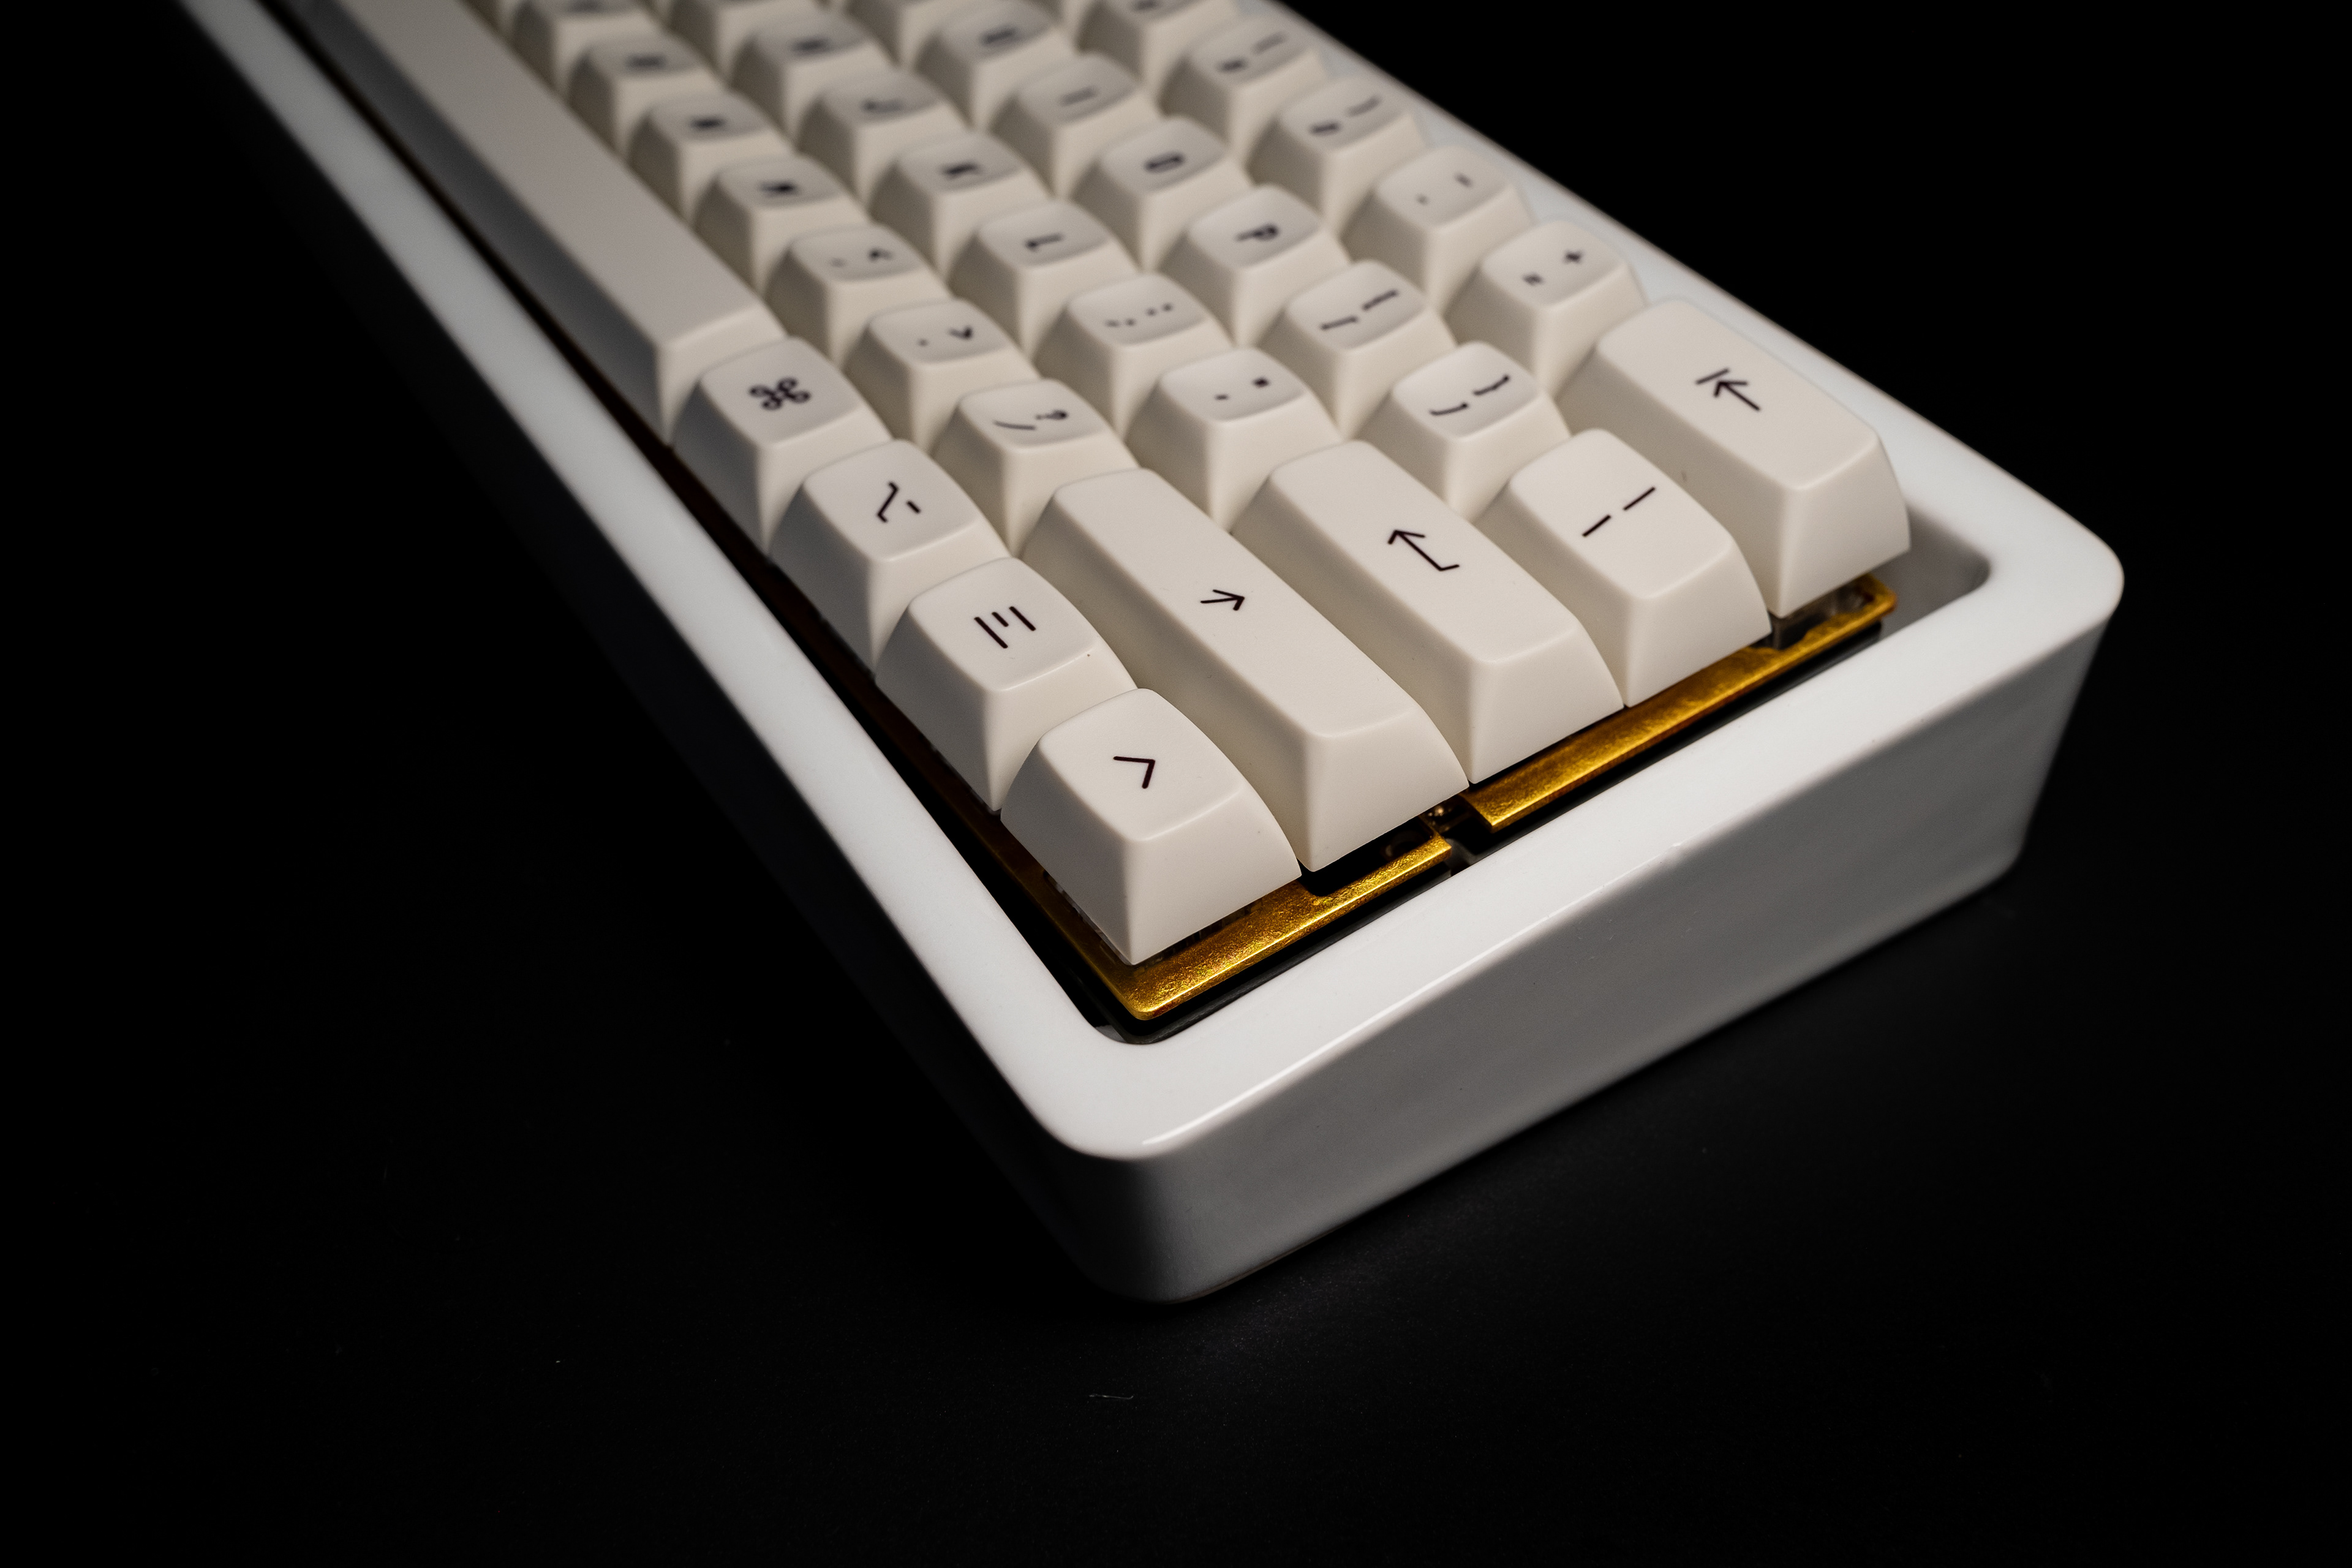
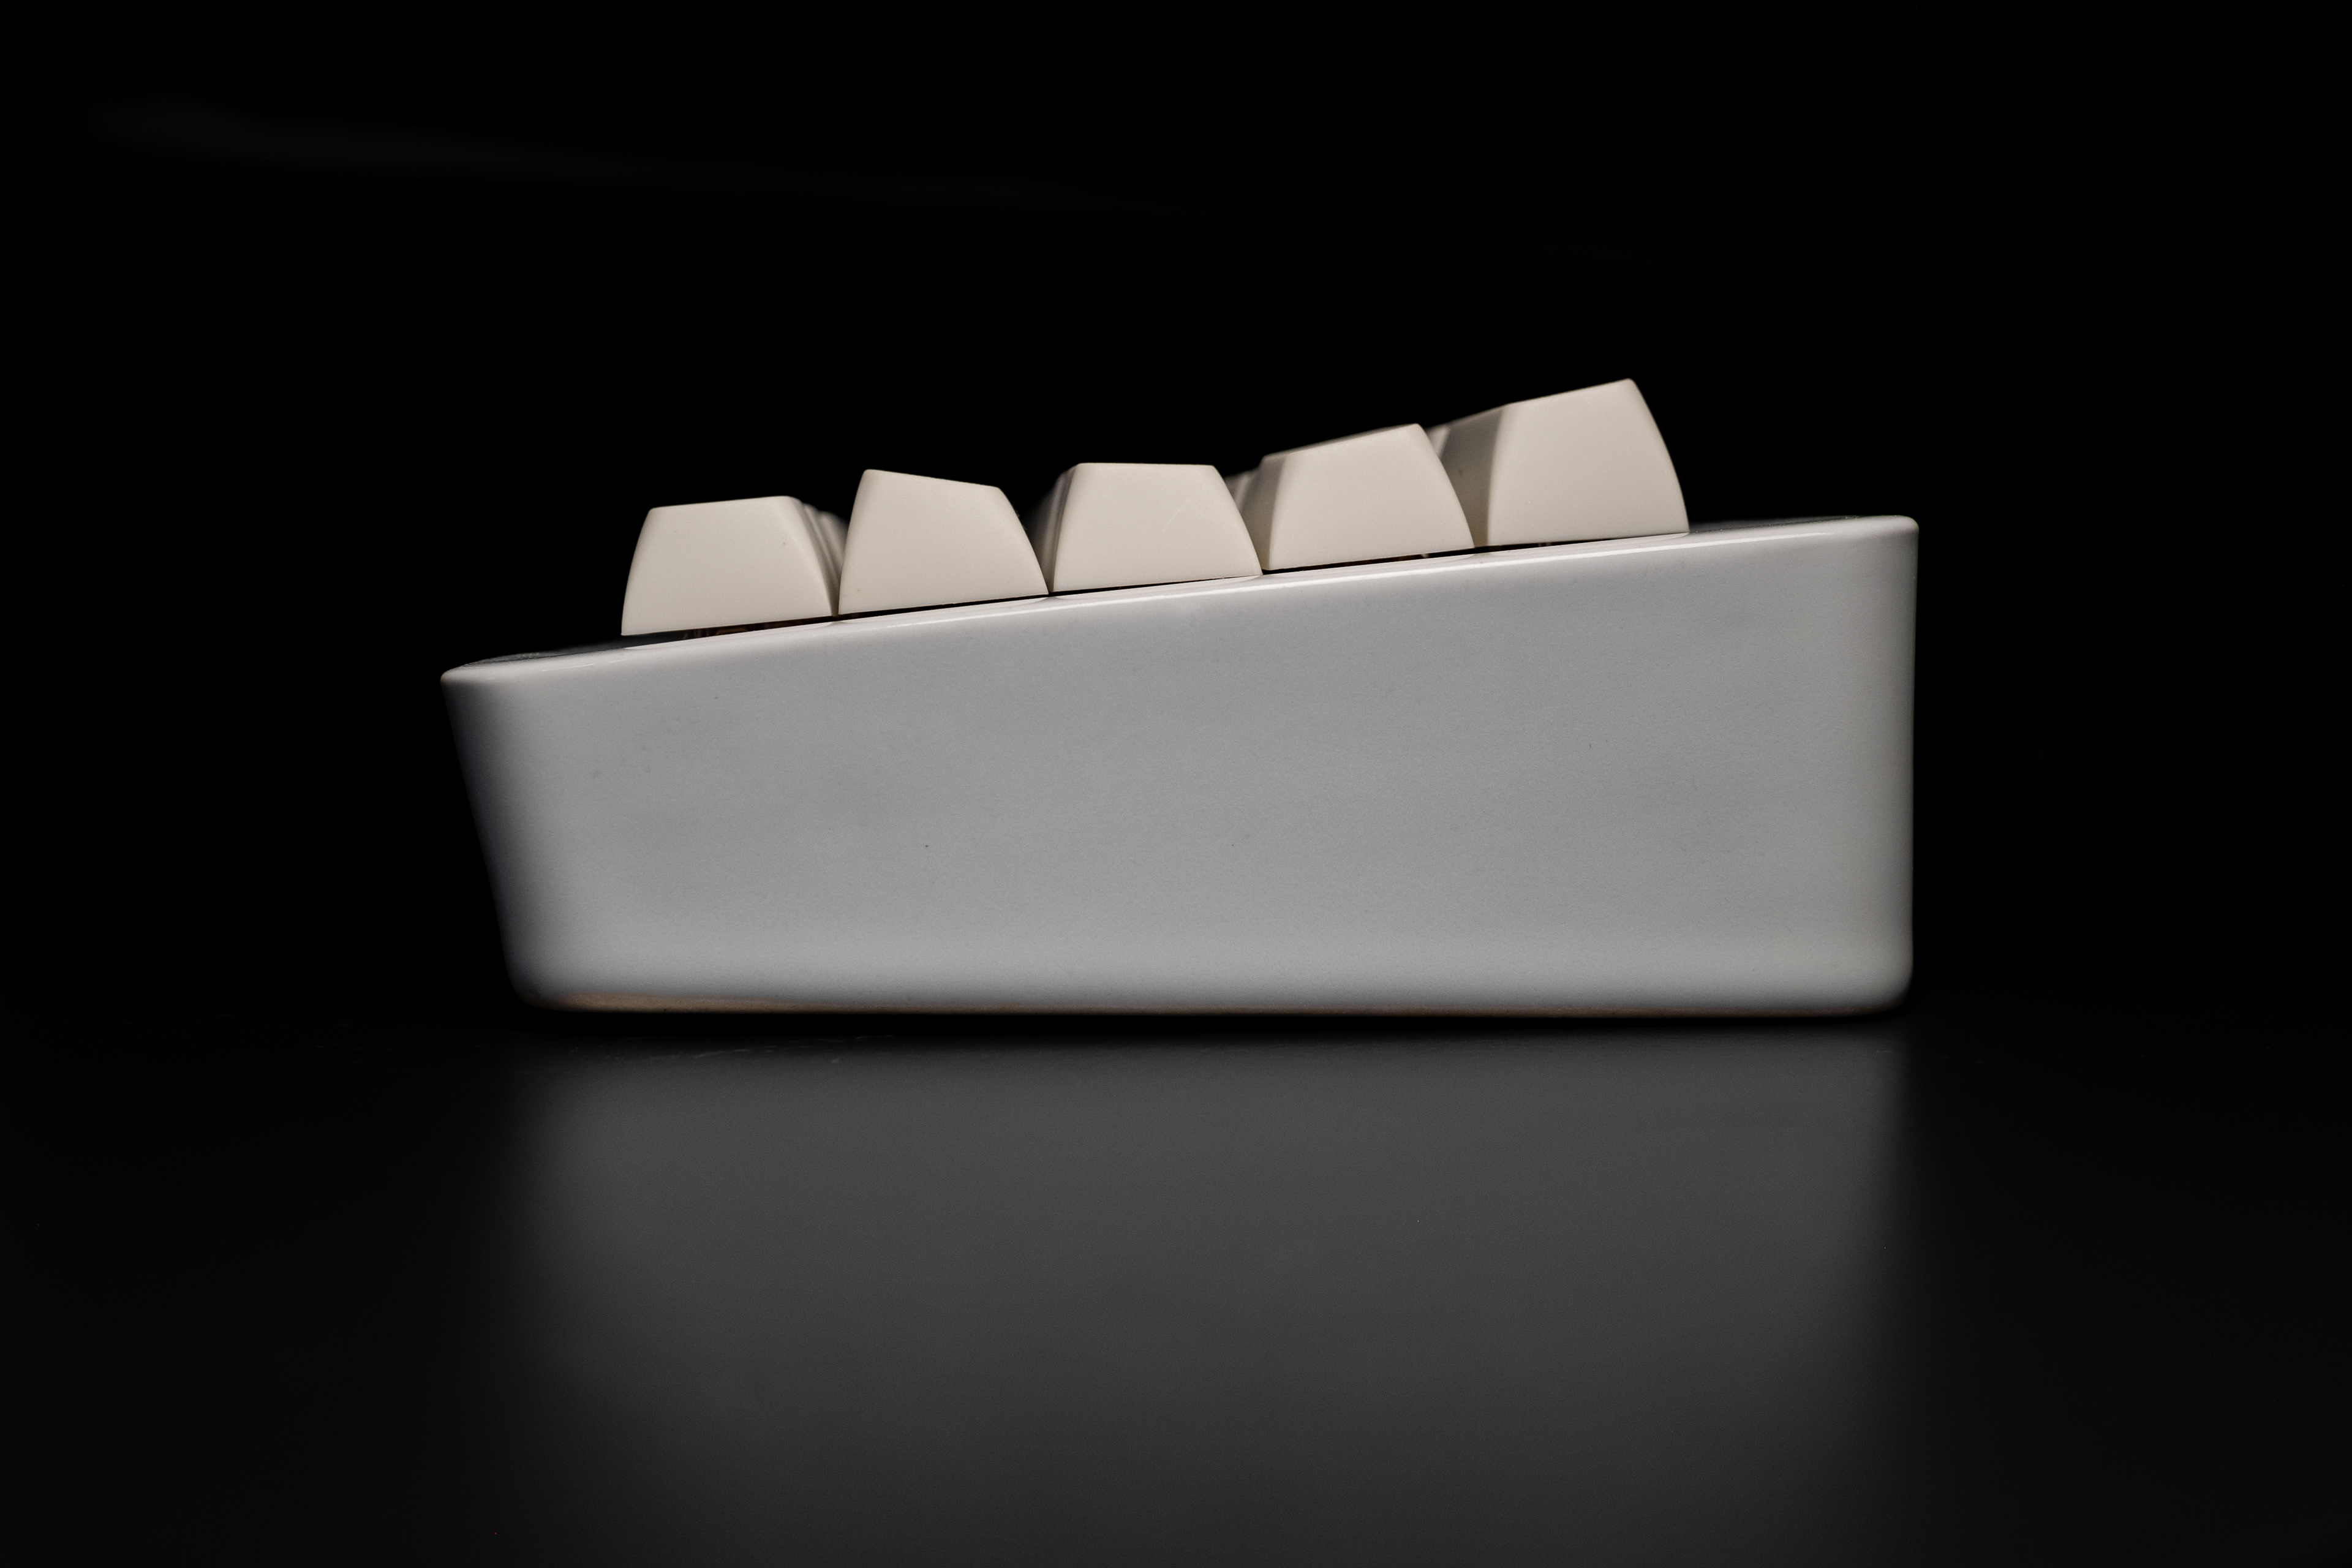
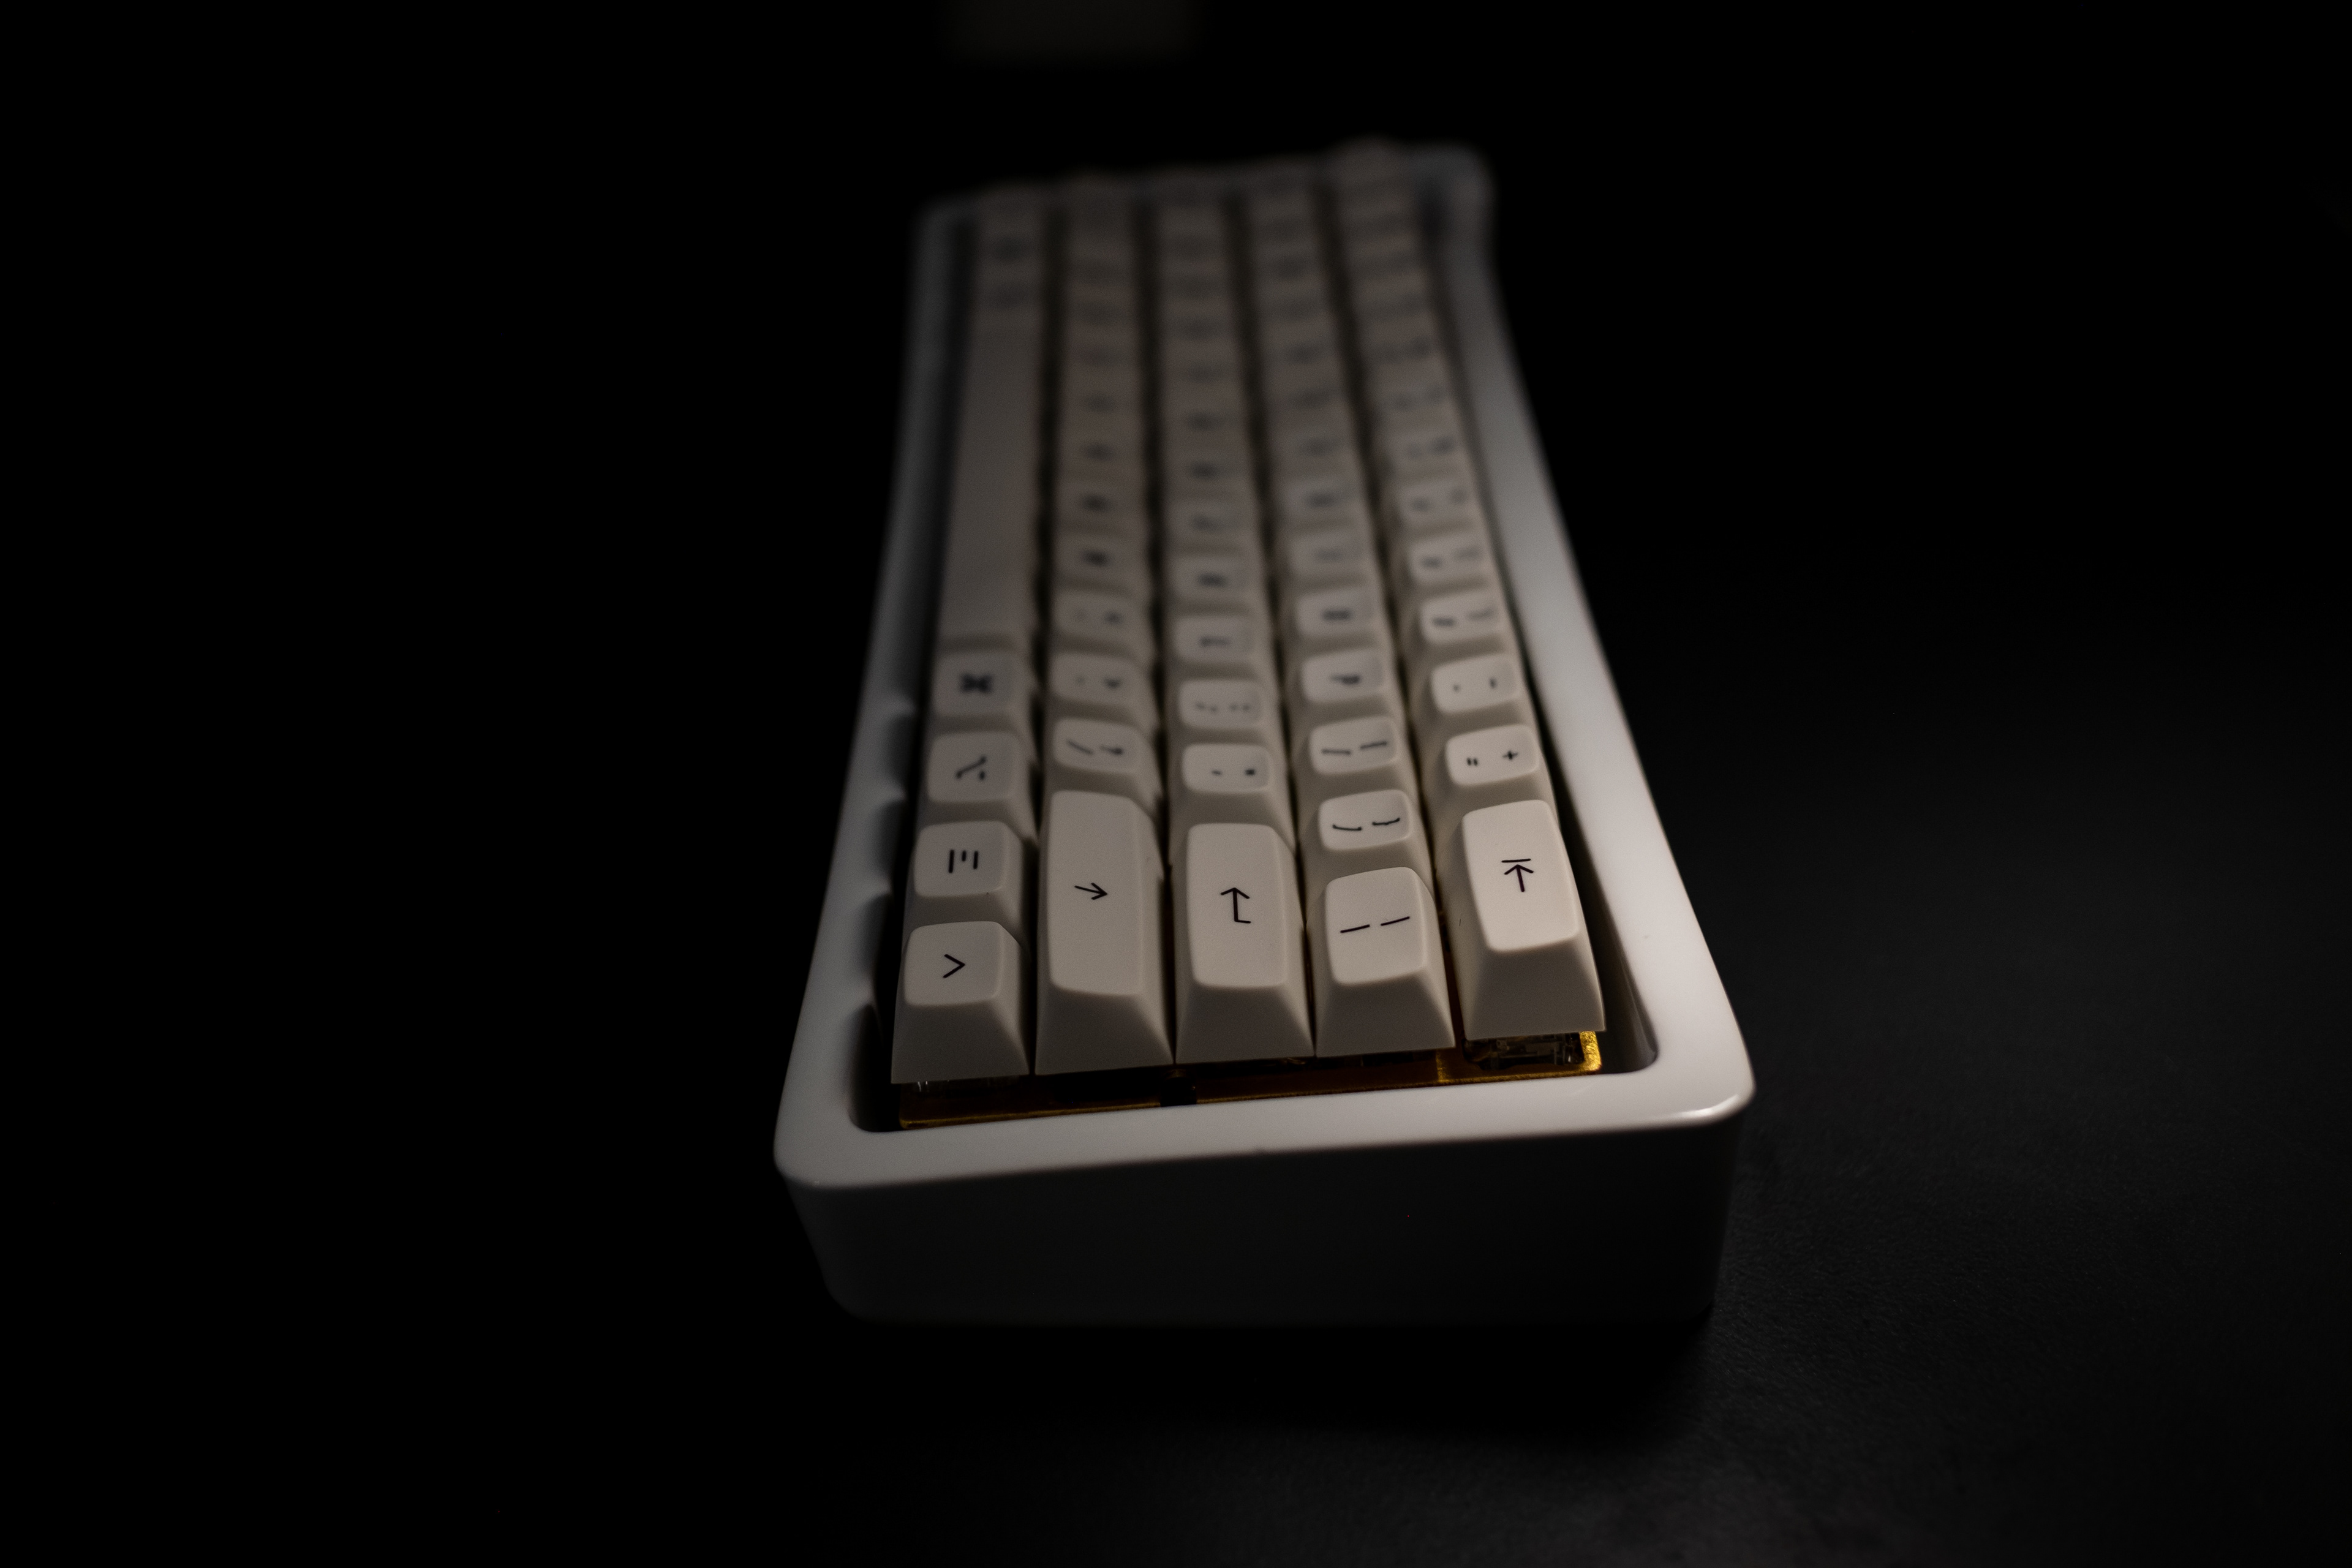
Finished Glazed Porcelain Enclsoure

Finished Glazed Porcelain Enclosure
The PCB assembly mounts to the porcelain enclosure using the "o-ring mount" technique popularized in the last few years. In this method, a large o-ring (177 mm ID) is stretched around the PCB assembly. Next, the PCB and o-ring assembly is pressed into the enclosure, and the compliance of the o-ring allows for a snug friction fit. This method has been praised for the uniformity of its typing sounds, unlike the traditional standoff mounting system which creates areas of high frequency sound near the mounting standoffs.